A step-by-step DIY fix.
Even a small faucet leak can waste 3 gallons of water a day, so for the sake of your water bill (and our planet), fix that drip! Call in a plumber, or do it yourself; often, the culprit is a failure of the faucet’s “seats and springs”—a relatively simple DIY fix.
What you’ll need:
1/8-inch Allen wrench
Needle-nose pliers
Tongue-and-groove pliers
Screwdriver
Replacement parts
How to fix it:
1. Shut off the hot and cold water supply valves underneath your sink. Turn on the faucet, and let the last of the water trickle out to completely drain the water lines.
2. To remove the handle, take off the screw cover; use a screwdriver or Allen wrench to remove the screw. Then, lift off the handle.
3. Look at the cap and adjusting ring. If the faucet seems to be leaking from here, try tightening the adjusting ring with needle-nose pliers. If that doesn’t stop the leak, you’ll need to replace the faucet’s seats and springs.
4. Unscrew and remove the adjusting ring. Then, unscrew the dome-shaped cap by placing a cloth over the cap for grip and using tongue-and-groove pliers to unscrew it. Be careful: Don’t use too much pressure to remove the cap or it may bend.
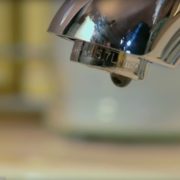
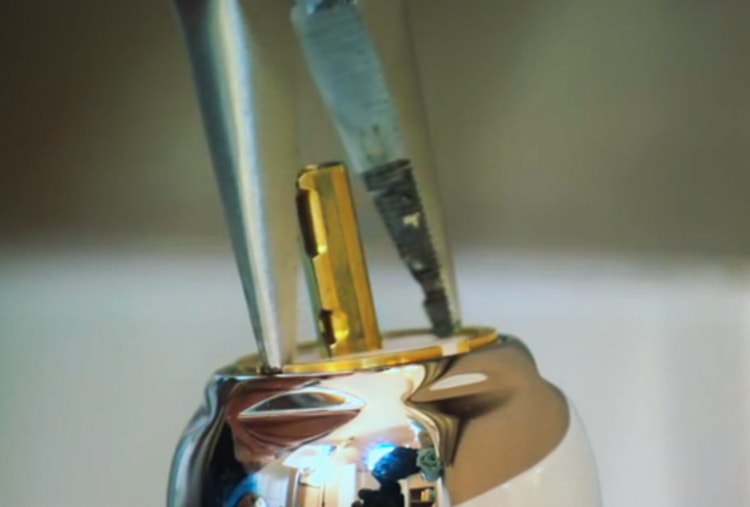
5. Pull out the round metal stem; when you do, you’ll remove the ball, as well as the piece called the “cam and packing.” If yourfaucet’s leaking from here, replacing the cam and packing should resolve the problem.
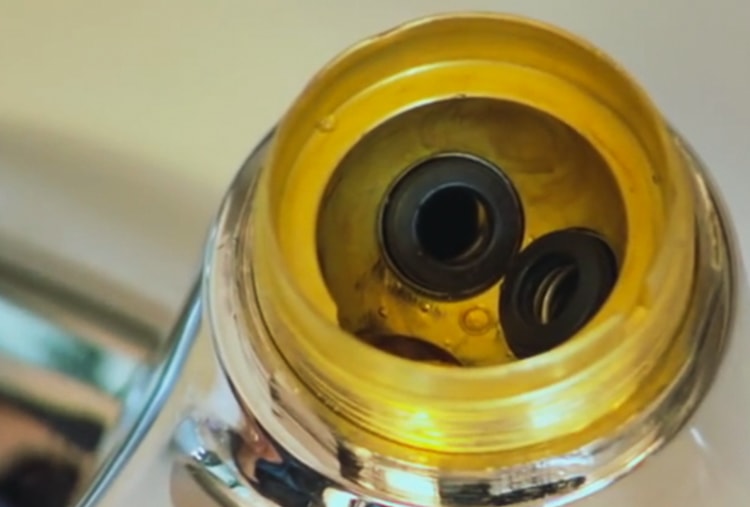
6. Look into the valve and you’ll see the small mechanism called the “seats and springs.” The “seat” is the small circular part, and the “spring” is beneath the seat. Use the Allen wrench to pry out the seats and springs for both the hot and the cold water.
7. Insert a new set of seats and springs into the holes. Thread one set onto the Allen wrench through the flat side of the seat, then through the skinny end of the spring. Use the wrench to tip the seat and spring into its hole in the valve; repeat with the other set.
8. Replace the ball assembly, aligning the pin and the valve to the slot on the ball.
9. Replace the cam and packing, aligning the tab on the cam with the slot on the valve.
10. Screw the cap on the valve using only your hand. Replace the adjusting ring, and tighten with needle-nose pliers. Reinstall the handle.
11. Turn on the water to ensure you’ve fixed the leak.
Do the instructions still not make any sense to you? Contact us today!
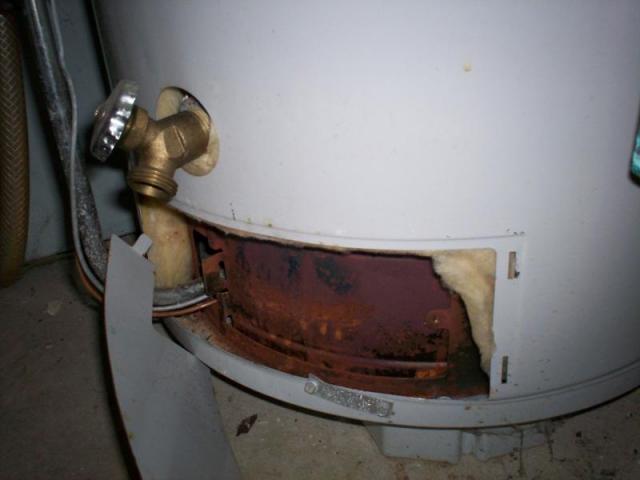 may have even noticed rust in your hot water as it is drawn from the tap. If you find rust or corrosion by the temperature and pressure relief valve, and/or the water inlet and outlet connections, it’s a good indication that your tank is rusting and needs to be replaced. Unfortunately, there is not a way to repair a tank once it has started to rust and corrode. If your water heater has not started to leak, it will only be a matter of time. Where your water heater is located within your home may determine your next step. Leaking water can cause thousands of dollars of damage to your home. Your best option may be to replace your water heater right away to prevent unnecessary expenses and damage. However, if your tank is located in a garage, you may choose to wait until it begins leaking, as the water damage may be minimal.
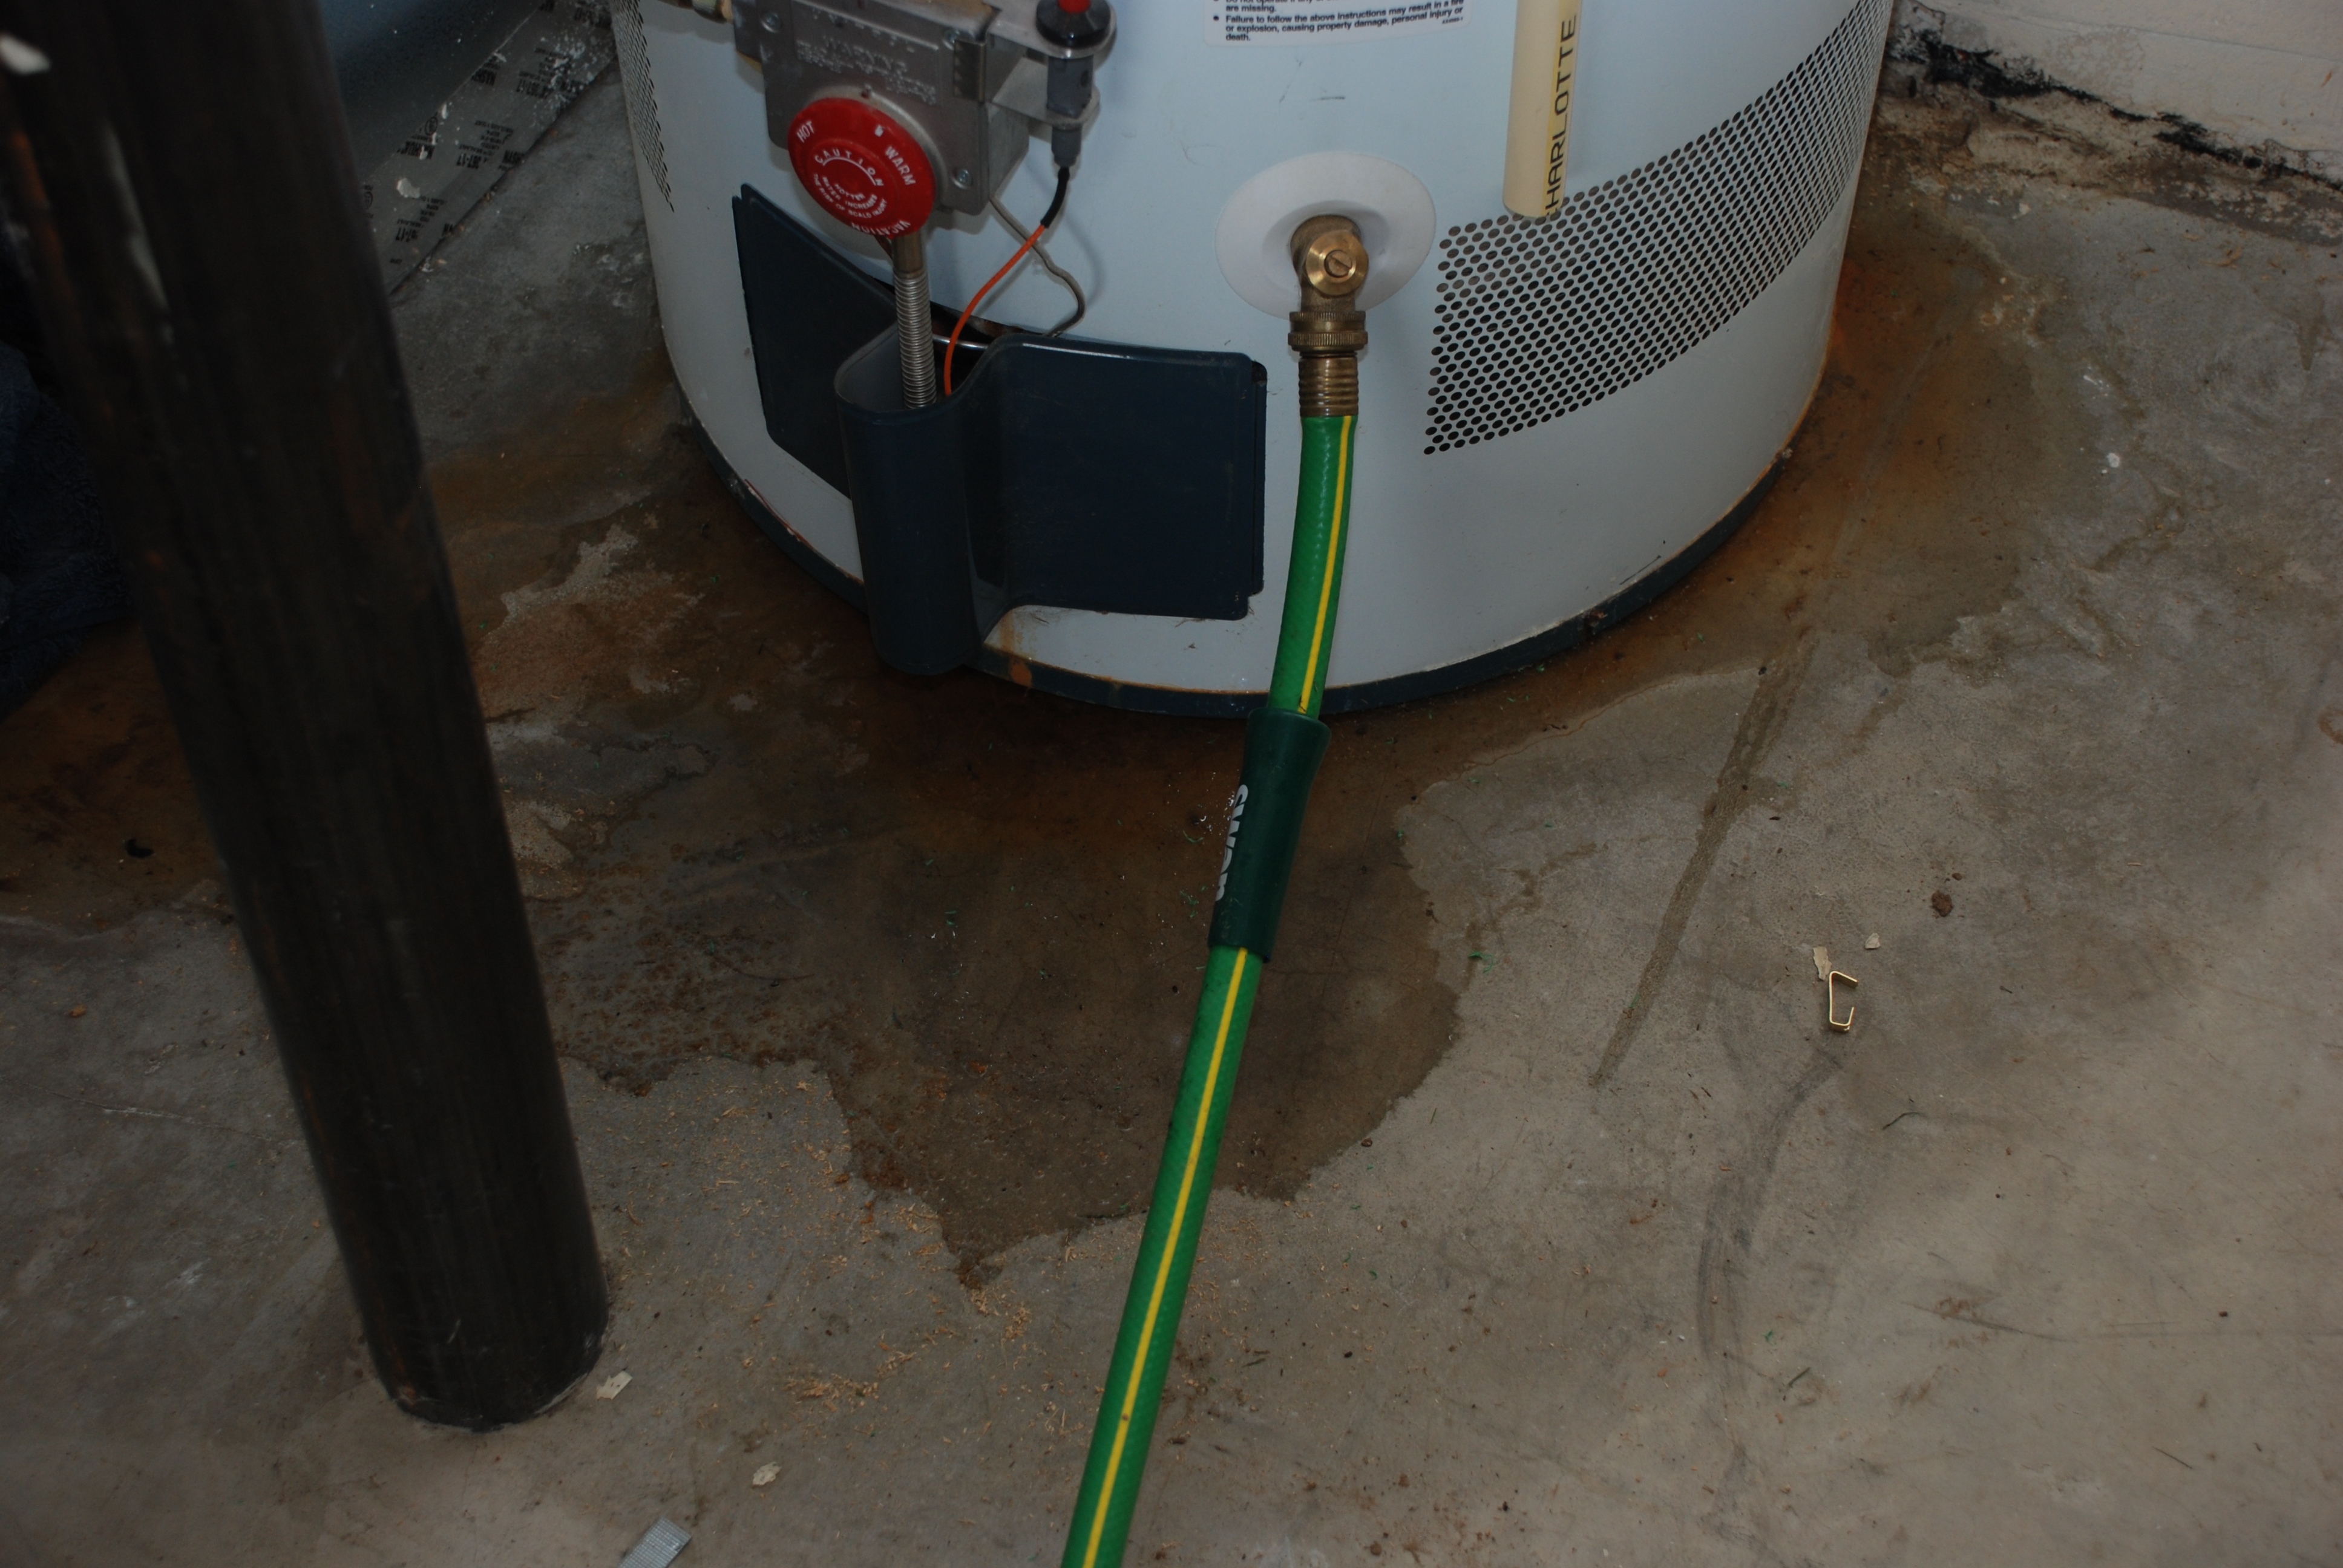 further water damage to the room, turn off the water and power to your water heater and call a professional plumber to install a new unit.